Developing My First Roll of Film (Ilford HP5+)

Despite the long and awkward setup for street photography, this man stood in one place long enough on his cigarette break for me to capture this shot. Some clean-up was needed in Photoshop to hide the damage to the negative. You can see the original below. 1/60s 250mm F8.0.
I’ve been shooting film for a while now and often when I spoke to people about it, they asked me the same question ‘do you develop the film yourself? To which I always gave the same reply: ‘no’. However ever since I started it had been an aspiration of mine to self-process, it’s just that initially I wanted to get started and have a baseline from the lab as to how properly developed film looked like. Having shot my final rolls of Fuji Acros that you can see in my most recent blogs, I decided that from now on I’d take the plunge and develop all of my black and white film myself. It’s much cheaper and more efficient as I wouldn’t be waiting weeks to see my results back from the lab and it would make it easier to test out any new gear I purchased to see if it was working.

The first image I took with the 250mm lens. The bold contrast of graffiti made for the perfect subject to test out this lens with black and white film. 1/125s 250mm F11.

If you love street art then Brick Lane is the place to go, the area is covered in it. 1/250s 250mm F11.
So, what better way to start than by testing my newly purchased 250mm PS 5.6 lens for my Bronica SQ-A, making sure it was all fully functioning. Along with the lens I picked up a roll of the ever-popular Ilford HP5+, loaded it up straight away and walked around London taking the first twelve frames that I would self-process. Starting at Brick Lane near where the shop was, I carried on into the city trying different set-ups and ideas. Having never used a lens like this for a medium format camera before, I wanted to see what the bokeh was like wide open as well as the depth of field I could still achieve as I closed the aperture. I’ll leave a full review of the lens for another day, but I can safely say I was happy with how it performed on its initial outing.

Looking down the alleyway. There is still a good level of depth of field with such a long lens on medium format at F11. 1/125s 250mm F11.
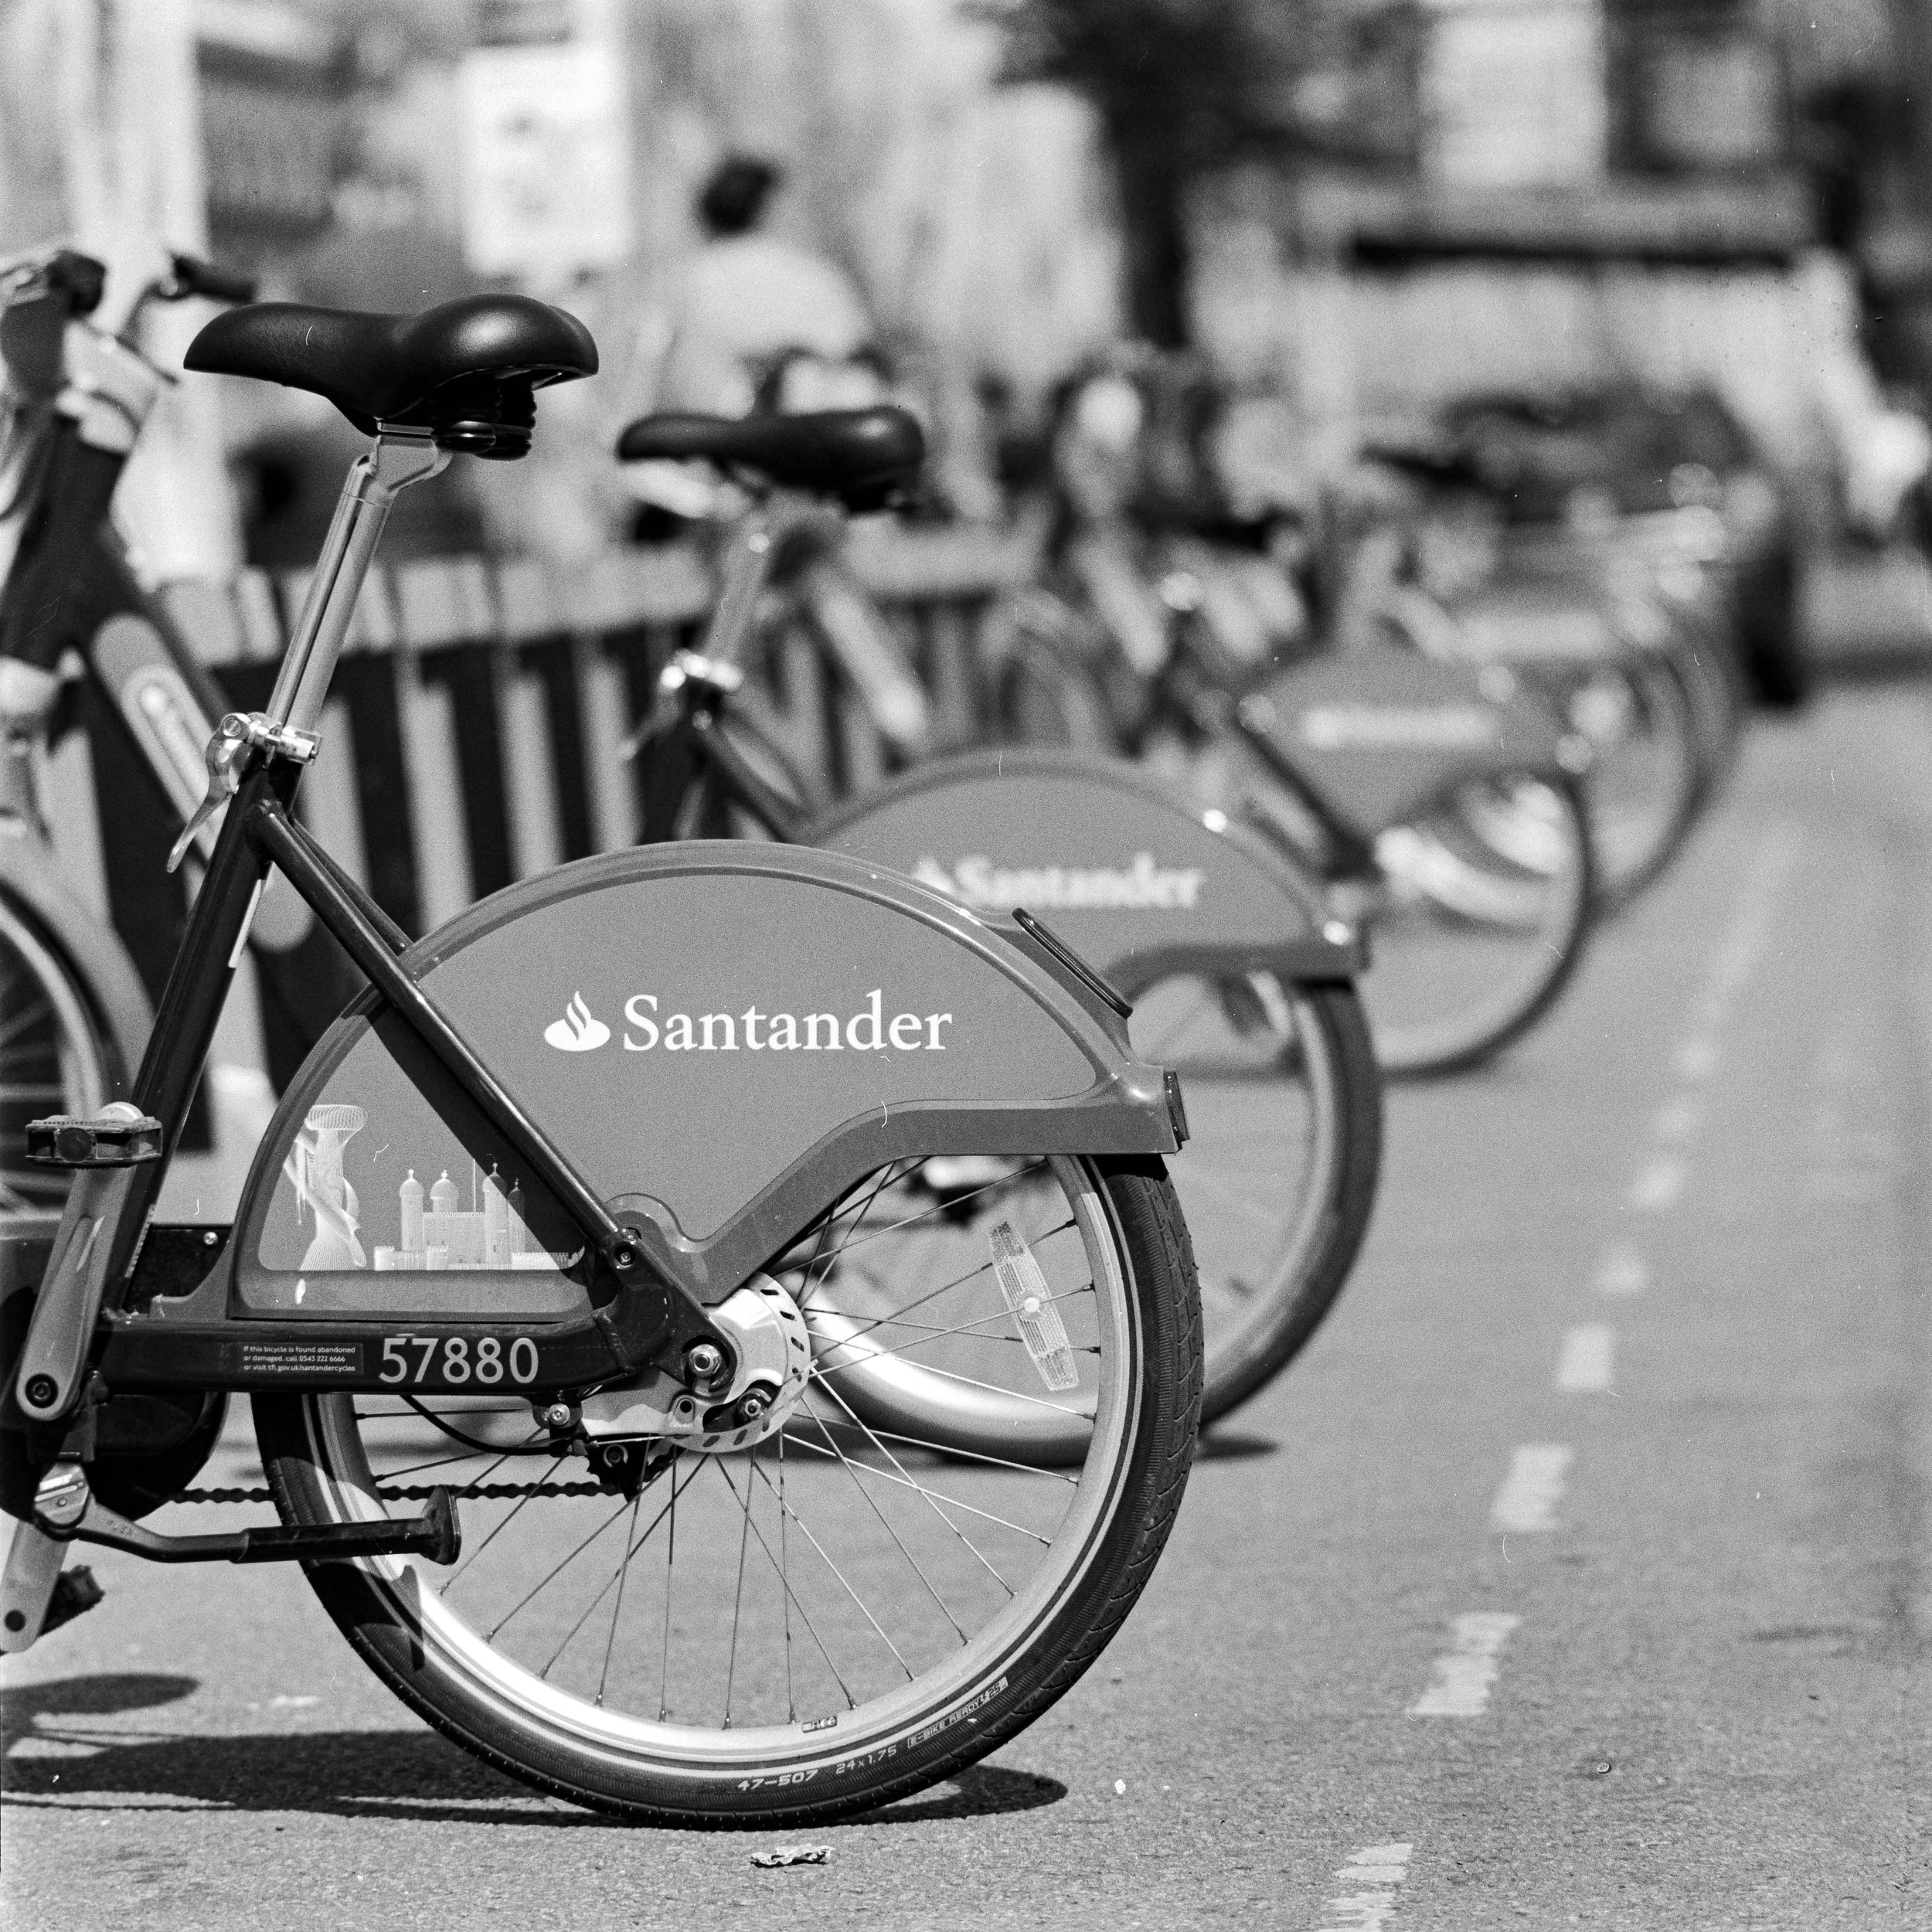
I tested the lens wide open on these Boris bikes to see how much bokeh this lens can produce. I was happy with the results but an ISO 400 film was too fast on this sunny day. 1/500s 250mm F5.6 +1 stop.

I then did the opposite with this street clock and closed the aperture down to F45. Impressively there is back to front sharpness for anything beyond the 3m minimum focus distance. 1/8s 250mm F45.
Now for the tricky part, the actual development. Thankfully someone from my local camera club had done a demonstration for me on the whole process, as well as shown me a very useful app, Massive Dev Chart (more on that later), which takes away a lot of the thinking and guessing. Everything seemed straightforward but there’s always a sense of nervousness from doing something yourself for the very first time. The equipment I needed I picked up from various places. I’d been given a couple of things, bought the universal Paterson development tank at the camera club charity auction, and the rest along with my chemicals came from a local photography shop. Based on what was in stock I had FD10 as a developer, Ilford Rapid Fixer as my fixer and Tetenal Indicet as my stop bath.

I waited for a few minutes before this train crossed the bridge and I took this frame. 1/125s 250mm F11.

This classic car made a good subject for my old film camera. If only the modern car hadn’t been parked so close behind. 1/125s 250mm F16.
The most difficult aspect, especially with 120 film, is getting the film onto the reel that goes into the tank. Due to its larger size, there is more flex than in 35mm and it can be incredibly frustrating getting it to feed flat through the initial opening. All the more difficult when you haven’t done it before, and you can’t see what you are doing as it’s in a changing bag. Unfortunately, I messed it up this first time around and loaded the film incorrectly which resulted in a slightly botched process of development. Though I wasn’t to know that until I’d finished fixing the film.

The Massive Dev Chart app is a real godsend as it compiles data from thousands of development cycles across just about every film you can get your hands on and more. Select which film, film size, ISO and developer you use, and it will automatically calculate the temperatures, ratios and times you need. The timing functions that tell you when each step is finished and when to agitate are all super helpful as it makes it an easy-to-follow step-by-step process, making this part almost impossible to get wrong.

This shot of the River Thames was only half developed, but at least what was there was developed properly. Perhaps one I will have to go back to capture another time. 1/125s 250mm F11.

The last two frames were completely ruined and undeveloped but you can just about make out the cyclist on the right hand side of the frame. 1/125s 250mm F11.
Then came the moment of truth, having finished I opened the tank to see what I got. Initially what greeted me was not good. Undeveloped film. Thankfully this only affected the last two and a half images, and the rest were largely ok, although there were chemical spots, scratches, and creases on the others. Having loaded it incorrectly, there wasn’t enough space between parts of the film for the chemicals to work, hence why the process failed. It also meant it took a lot more washing to get the film clean. I then tried to re-insert the fixed film in the daylight now that I could see everything and that did help me understand where I went wrong and how not to do that next time. It is all a learning curve and at least I didn’t load the backing paper as some do on their first attempt! As usual I scanned the negatives with my digital camera and processed them in Lightroom.

If you compare this image to the top one you can see damage to the negative. Notice the creases on the top right and the chemical splodges on his right arm and on the wall on the middle right side. 1/60s 250mm F8.0.

A zoom in to the chemical splodge on the right hand hide. Thankfully with the repeating pattern of the wall it was easy to remove in Photoshop.
All in all, I was pleased to have just done it once, even if it wasn’t perfect, and after that I’ve not had any developing problems since. Once you know what you are doing it becomes as easy as riding a bike. For now, I’ll stick to just developing black and white, but I do want to develop colour negative film in the future as well. Ultimately the more I develop myself the more control I have and the cheaper and more sustainable my hobby will be.

HMS Belfast leading down to Tower Bridge. This was the last image that developed properly. 1/60s 250mm F16.
Do you develop any of your own film? Or do you prefer to send it off to the lab? Let me know in the comments down below.
If you enjoyed this blog then please consider leaving a tip below.